YouTube provides an opportunity to collaborate on channel content by allowing you to add administrators. This is useful when several people or a team are working on managing, editing, and publishing videos on a channel. It also simplifies the workflow and allows for effective content management. You shouldn’t provide access to logins and passwords, because the YouTube account is tied to Google and all related products.
Types of YouTube accounts
Personal Google account. Linked to your personal Google email. It allows you to create and manage channels.
Brand account. Associated with a page or company. Allows multiple users to work with the channel without access to personal accounts.
To determine what type of channel you have, follow these simple steps:
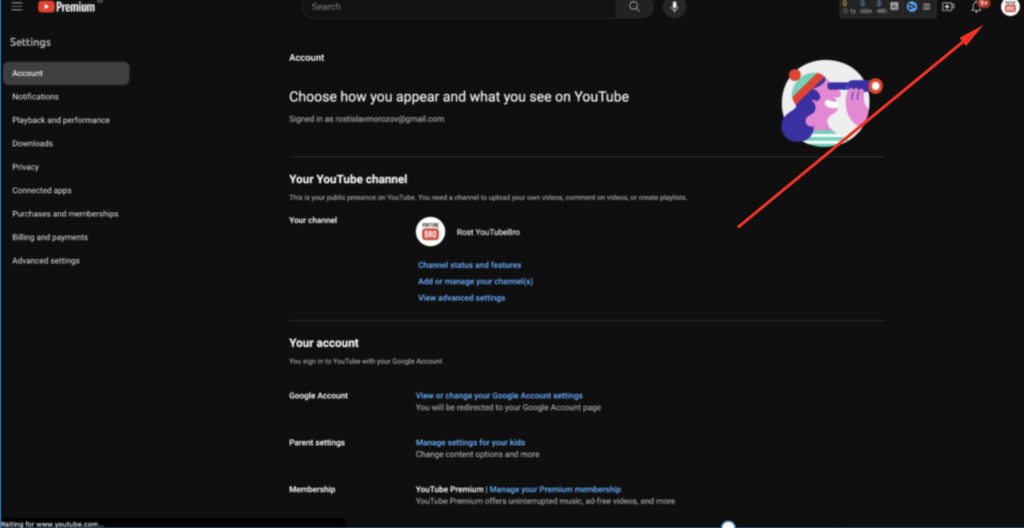
- Log in to your YouTube account.
- In the upper right corner, find the channel icon and click it.
- Find “Settings”: if you see the inscription “Add or remove administrators, your channel for the brand has already been created earlier. If you don’t see this inscription, you have a personal YouTube account type.
How to create a brand account on YouTube
If you haven’t created a channel before, here’s a simple step-by-step guide to help you do so.
- Click the Channel Management icon.
- Next, select the Create channel button.

3. Add a name for your channel and select Create.
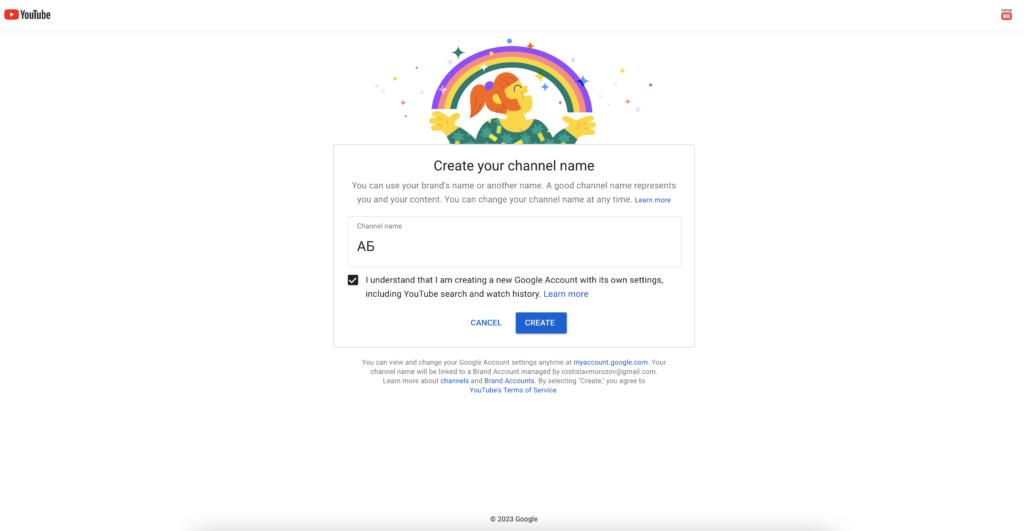
4. Complete the verification of your channel by confirming your phone number and accepting all the “Agreements”.

If you decide to outsource the promotion of your channel to professionals, you will need to understand how to add administration rights.
5. Therefore, next, select “Settings”. The brand account is created – the “Add or remove channel administrators” message appears.

How to link a brand account with a YouTube channel
Before you add an administrator, link the new channel to your brand account, i.e. transfer all videos and data from the old channel. To do this, use the following steps:
1. Go to the channel settings.
2. Select Advanced settings.

3. Click Link to Google account or brand account.
4. Enter the password to confirm that the channel belongs to you.

5. Click the channel icon in the upper right corner.
6. Select Change account. Next, be sure to select OLD ACCOUNT!
7. Go to its advanced settings.
8. Click Link to brand account.
9. Select the “Replace” button after you have made sure that you are in the old account.
10. Check the box “I understand and want to continue”, then click the “Delete channel” and “Replace channel” buttons.
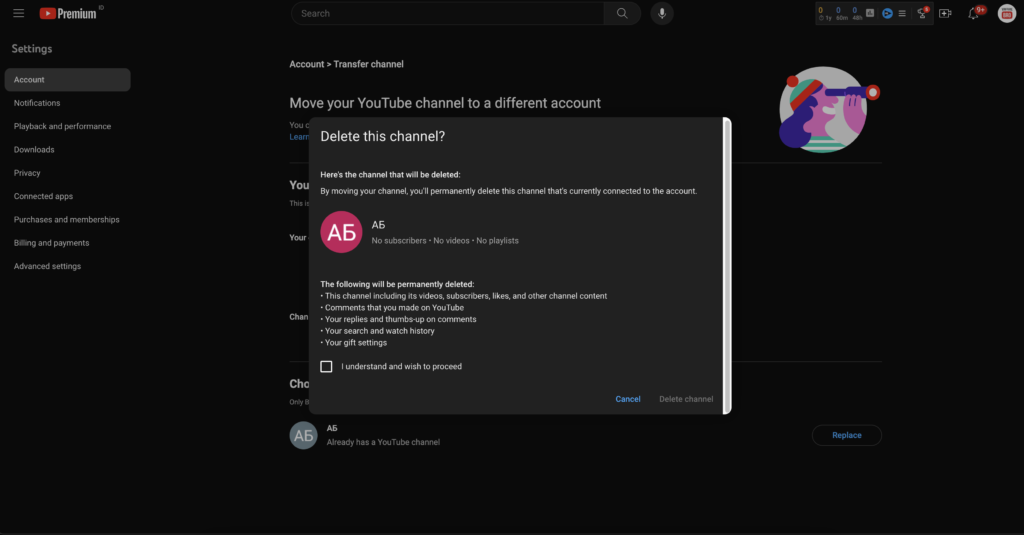
11. Switch to the new channel and check if everything is transferred.
How to add or remove an administrator to your channel
- Log in to YouTube Studio and click on the channel icon in the upper right corner.
- In Settings, select the Add or remove channel administrators button.
- In the Brand account information window that opens, select Manage permissions.
- Access Settings contains a list of users with access to the account. You can “Invite users” through the icon of the same name in the upper right corner of the window.
- After entering the email, select the user you want to make an administrator. Click the Invite and Done buttons to confirm your changes.
If you want, you can change the user’s role or delete it.
This guide to adding an administrator to your personal YouTube channel will help you manage and publish content more efficiently.
Contact our video marketing agency if you need professional help managing and promoting your channel. Our experts are ready to help you with any questions you may have about YouTube and video marketing.
This detailed guide will be useful for anyone looking for information on how to add administrators to a YouTube channel.